FusionAuth Quickstart for React
This quickstart adds login and a protected page to a React web app using a preconfigured, local version of FusionAuth in the following steps:
- Create a new React app.
- Customize the app with home and account pages.
- Add login to protect the account page.
- Add a button to the account page to fetch the user's information.
Prerequisites#
This Quickstart requires:
- Node.js 22 or later
- Docker 23 or later
- On macOS and Windows, one of the following container management tools:
- Docker desktop
- OrbStack (to use Orbstack for
docker composecommands after install, rundocker context use orbstack) - Podman (in the commands below, replace
dockerwithpodman)
Be sure to open your container management tool to configure and install any dependencies needed by that tool, including Rosetta and Developer Tools on macOS.
Install and Run FusionAuth#
To begin, clone the GitHub repository for this Quickstart to your local machine:
git clone git@github.com:FusionAuth/fusionauth-quickstart-react.gitThe repository contains:
fusionauth-backend, a preconfigured version of FusionAuthreact-frontend-steps, a runnable version of each development step of the React application
Navigate to fusionauth-quickstart-react/fusionauth-backend:
cd fusionauth-quickstart-react/fusionauth-backendOpen OrbStack or Docker Compose to start the docker daemon.
To start a local instance of FusionAuth, run the following command:
docker compose up -dIf you see an error that reads "Is the docker daemon running?", make sure your container management tool is accepting commands. Depending on your tool:
- to use Docker Compose, Docker Compose must be open
- to use Orbstack, enable OrbStack to run as the docker daemon with
docker context use orbstack, then open the Orbstack app - to use Podman, replace
dockerin the above command withpodman
During the Docker compose process, the included kickstart/kickstart.json file uses the FusionAuth API to:
- Generate an API key
- Configure CORS (Settings -> System -> CORS )
- Create your app ("Quick Start App") with appropriate settings and redirect URIs (Applications -> Edit Application )
- Create an admin user (admin@example.com) and register the user with your app (Users )
- Create a user (richard@example.com) and register the user with your app
- Create a custom theme ("Quick Start Theme") using
fusionauth-quickstart-react/kickstart/css/styles.cssand apply it to your default tenant (Customizations -> Themes )
Once Docker compose completes, open a browser window and navigate to the admin UI of your FusionAuth instance at http://localhost:9011/admin. Use the following admin account credentials to log in:
- Username:
admin@example.com - Password:
password
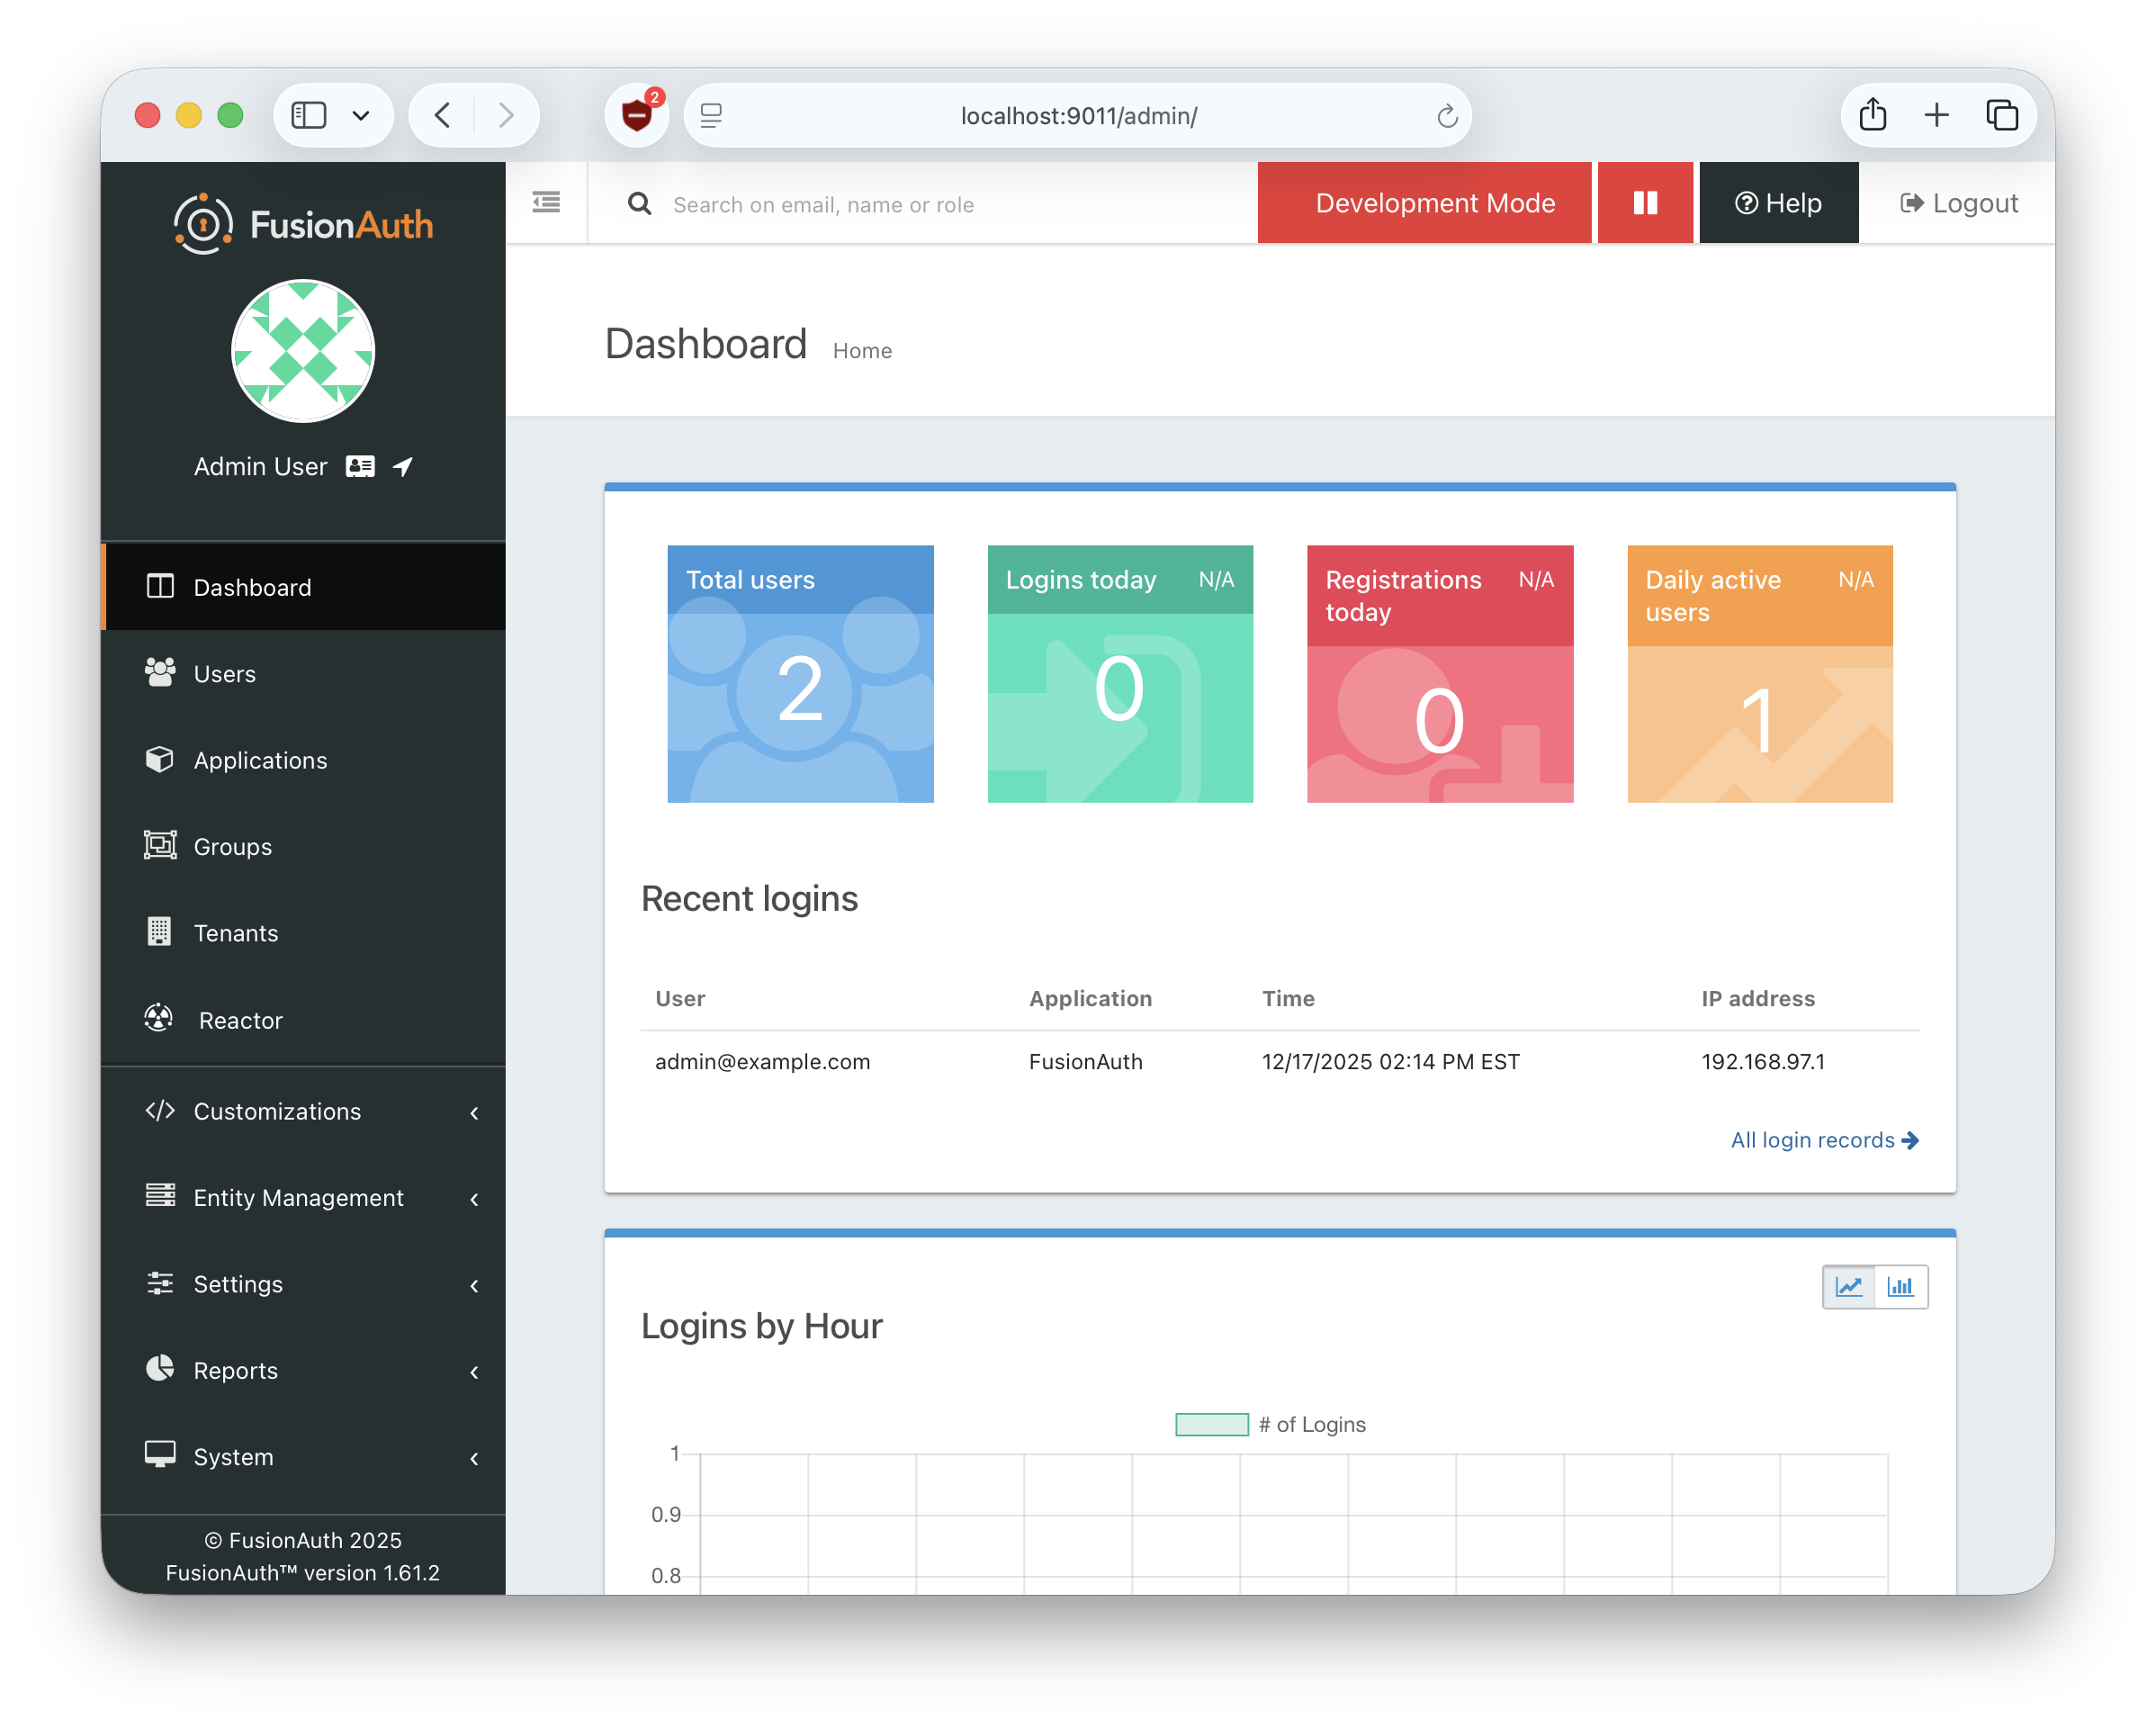
After authenticating, you should see the FusionAuth admin UI, which shows information about active users, logins, registrations, and more:
Create the React app#
First, create a new TypeScript React app with Vite:
-
To generate a new React app in a folder called
app-quickstart-react, open a terminal and run the following commands:If your terminal is still in the
fusionauth-backenddirectory, runcd ..to navigate back up tofusionauth-quickstart-react.npm create vite@latest app-quickstart-react -- --template react-tsSelect
Yesto install necessary Vite packages if prompted. Then selectNofor the following options:- Use rolldown-vite (Experimental)?
No - Install with npm and start now?
No
- Use rolldown-vite (Experimental)?
-
Navigate into the app folder and install the project dependencies with the following commands:
cd app-quickstart-reactnpm installnpm install react-router-dom -
Delete the file
app-quickstart-react/src/App.tsxas you'll add routing to display the app pages:rm -rf src/App.tsx
Customize the React app#
Update the main app component#
Replace the contents of src/main.tsx with the following code:
import { StrictMode } from 'react';
import ReactDOM from 'react-dom/client';
import { BrowserRouter, Navigate, Route, Routes } from 'react-router-dom';
import Home from './home';
import Account from './account';

function App() {
  return (
    <Routes>
      <Route path="/" element={<Home />} />
      <Route path="/account" element={<Account />} />
      <Route path="*" element={<Navigate to="/" />} />
    </Routes>
  );
}

ReactDOM.createRoot(document.getElementById('root')!).render(
  <StrictMode>
    <BrowserRouter>
      <App />
    </BrowserRouter>
  </StrictMode>
);
This is the main app component for your React app. The last code block inserts the app into the root DOM element.
Create the homepage#
Create the file src/home.tsx for the public homepage and add the following code:
import { useNavigate } from 'react-router-dom';
export default function Home() {
const navigate = useNavigate();
return (
<div>
<div className="titlebar">
<button className='button' onClick={() => navigate("/account")}>
Login
</button>
</div>
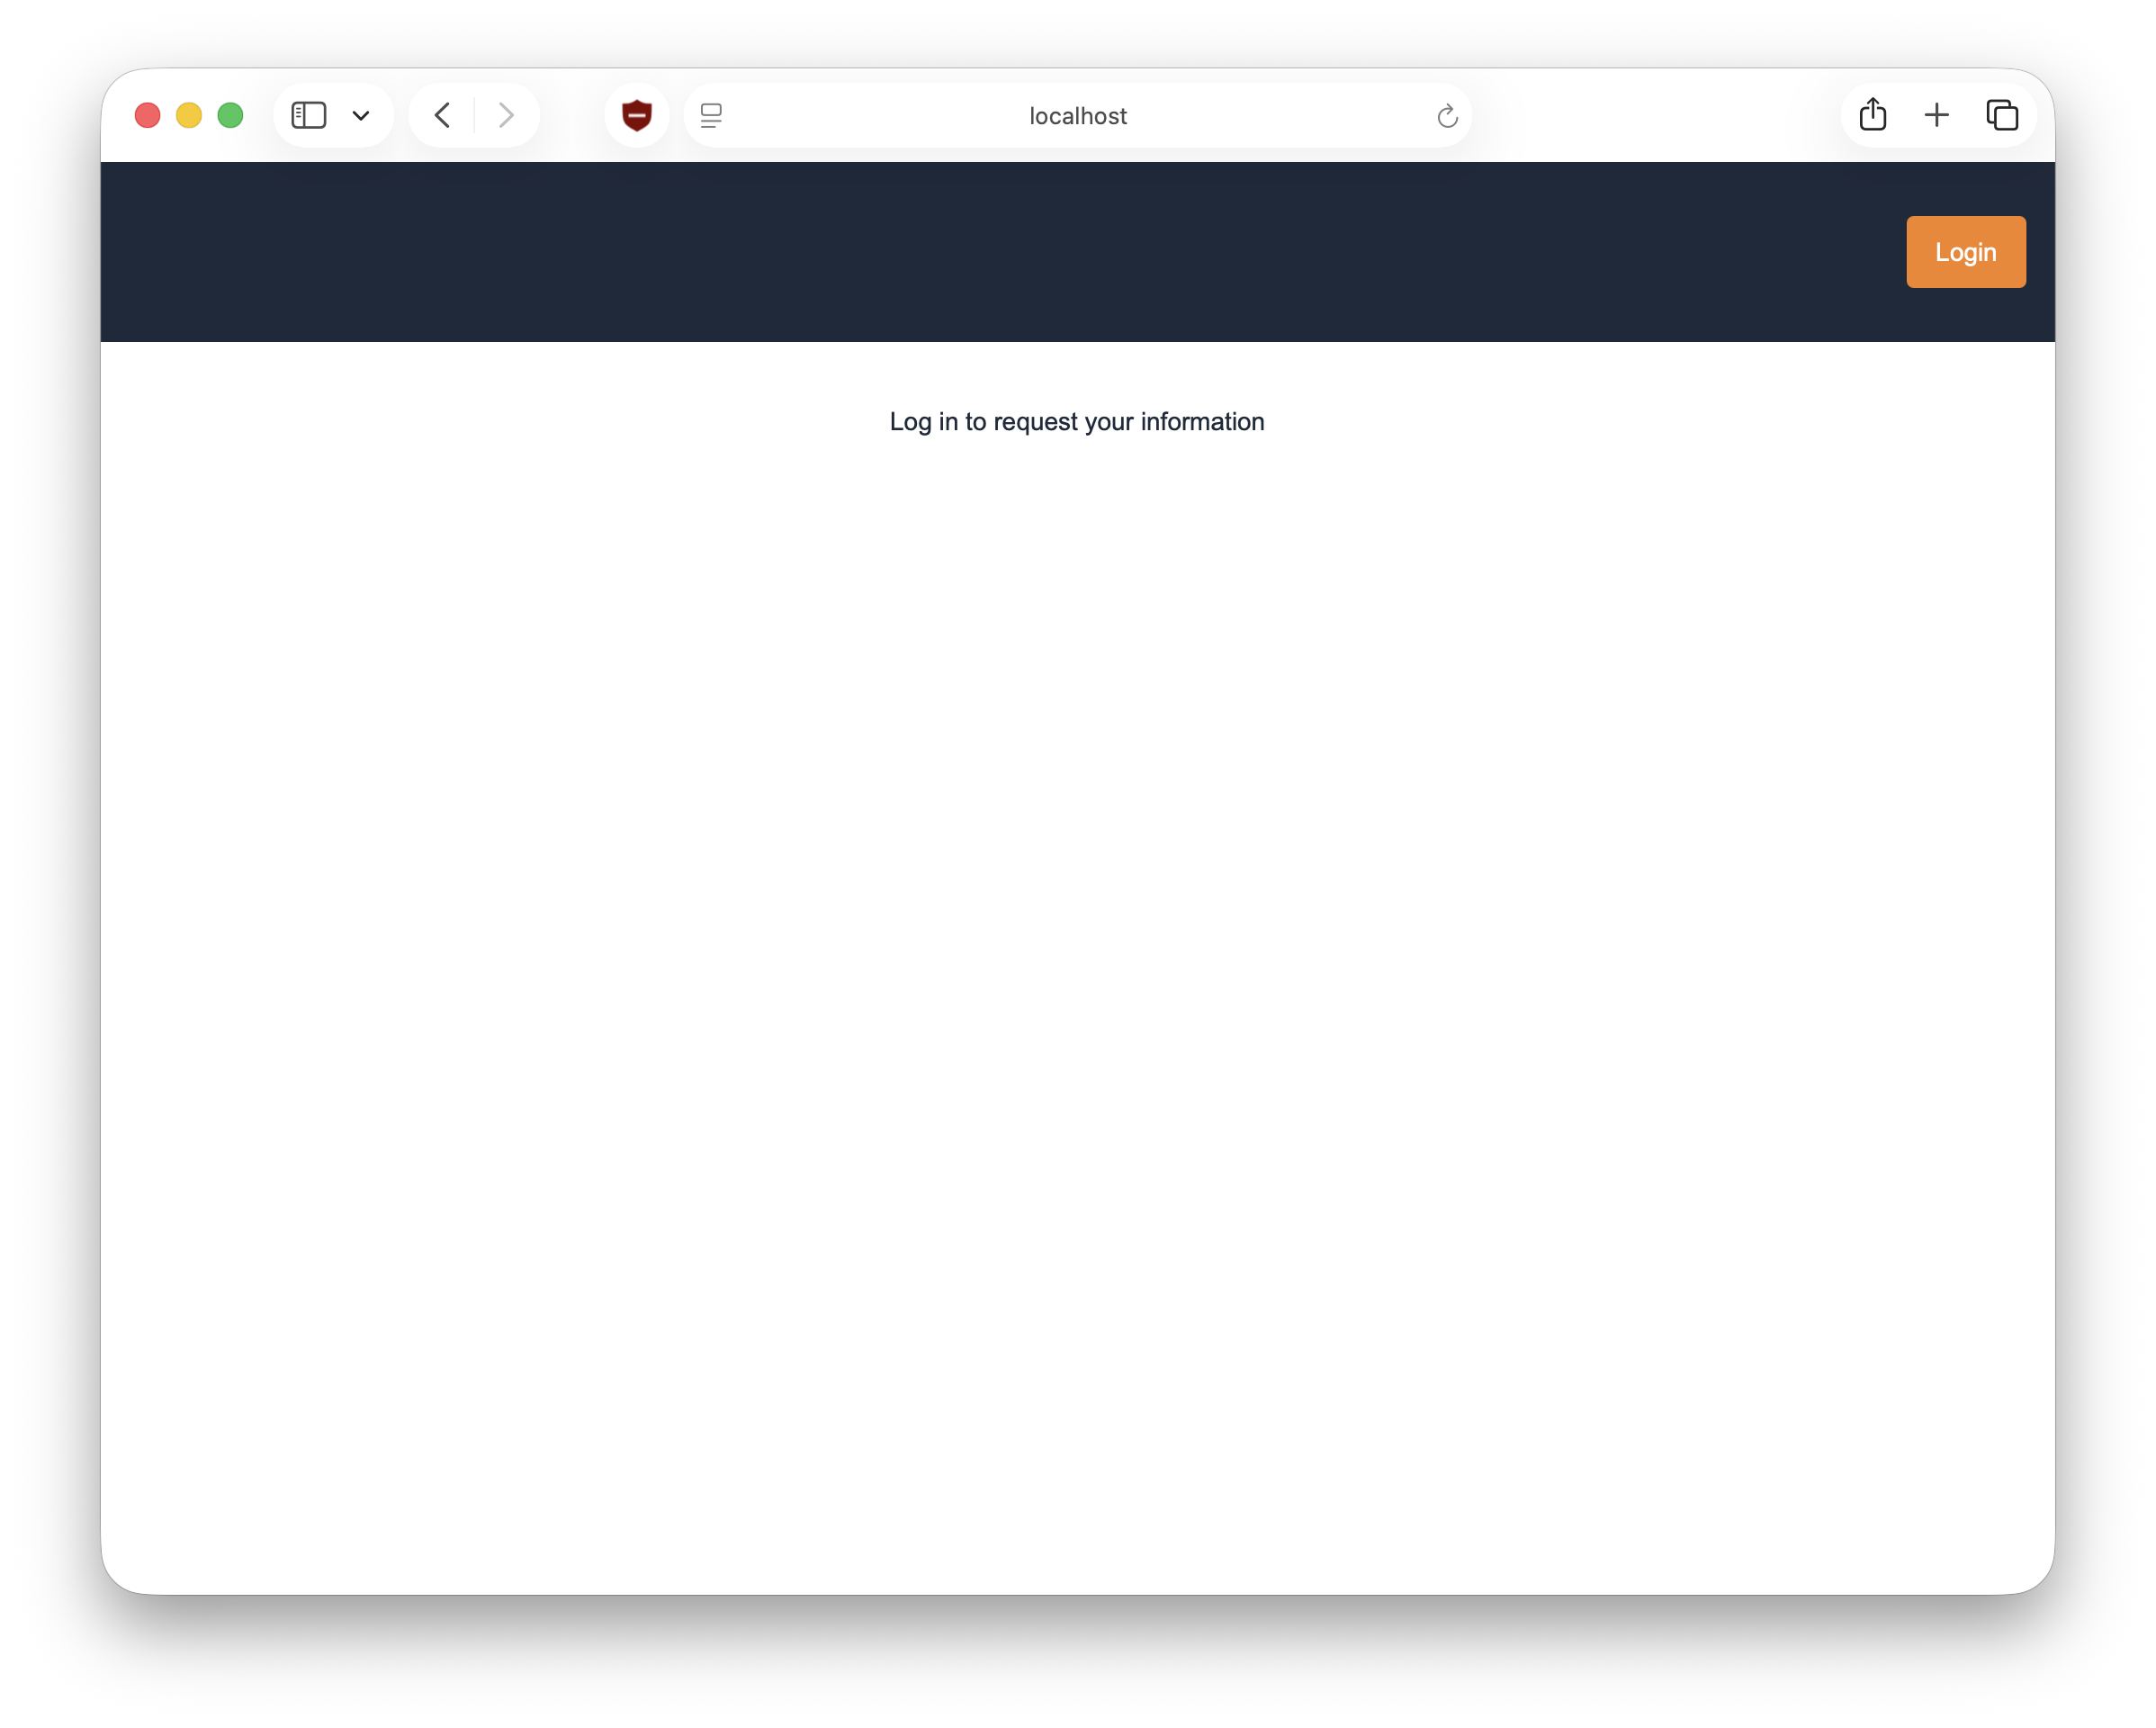
<div className='centerContainer'>
<div>Log in to request your information</div>
</div>
</div>
);
};The click handler function for the login button redirects the user to the account page. You'll replace this function when you add authentication.
Create the account page#
Create the file src/account.tsx for the account page and add the following code:
import { useNavigate } from 'react-router-dom';

export default function Account() {
  const navigate = useNavigate();

  return (
    <div>
      <div className="titlebar">
        <button className='button' onClick={() => navigate("/")}>Logout</button>
      </div>
      <div className='centerContainer'>
        <p>User info will display here</p>
      </div>
    </div>
  );
}
The click handler function for the logout button redirects to the home page. You'll replace this function when you add authentication.
Update the stylesheet#
Replace the contents of the src/App.css stylesheet with the following CSS:
* {
  color: #1e293b;
  font-family: Inter, Arial, Helvetica, sans-serif;
  font-size: 14px;
  margin: 0;
  padding: 0;
}

.white { color: white}

.centerContainer {
  display: flex;
  flex-direction: column;
  justify-content: center;
  align-items: center;
}

.titlebar {
  background-color: #1e293b;
  margin: 0 0 36px 0;
  min-height: 100px;
  color: #f8fafc;
  display: flex;
  justify-content: flex-end;
  align-items: center;
}

.button {
  cursor: pointer;
  font-family: inherit;
  border-radius: 4px;
  padding: 10px 16px;
  margin: 16px;
  height: 40px;
  background-color: #f58320;
  border: none;
  color: white;
  transition: background .2s ease-in-out;
}
.button:hover {
  background-color: #ea580c;
  color: white;
  transition: background .2s ease-in-out;
}
.button:disabled {
  background-color: #1e293b;
  color: #64748b;
}

.userInfoGrid {
  display: grid;
  grid-template-columns: repeat(2, auto);
  gap: 10px;
}
Update index.html#
In the root directory (not src), replace the contents of index.html with the following code:
<!doctype html>
<html lang="en">
  <head>
    <meta charset="UTF-8" />
    <meta name="viewport" content="width=device-width, initial-scale=1.0" />
    <link rel="stylesheet" href="src/App.css">
    <title>FusionAuth Quick Start React App</title>
  </head>
  <body>
    <div id="root"></div>
    <script type="module" src="src/main.tsx"></script>
  </body>
</html>
This page loads the CSS in the head component. The body loads main.tsx, the main React container.
Run the React app#
Run your app on port 3000:
-
In
package.json, update thedevscript to use port3000. Replace:"scripts": { "dev": "vite",with:
"scripts": { "dev": "vite --port 3000", -
From the React app directory, run the following command to start the web server:
npm run dev -
To view your app, open a web browser and navigate to http://localhost:3000.
Add FusionAuth for authentication#
In this section, you protect the account page with a login.
Configure and enable FusionAuth#
-
From the React app directory (
app-quickstart-react), run the following command to install the FusionAuth React SDK:npm install @fusionauth/react-sdk@~2.5.1 -
Open
src/main.tsxand replace the file contents with the following code to:- import functions and types from the FusionAuth React SDK
- configure and add the FusionAuth provider
import { StrictMode } from 'react';
import ReactDOM from 'react-dom/client';
import { BrowserRouter, Navigate, Route, Routes } from 'react-router-dom';
import Home from './home';
import Account from './account';
import { FusionAuthProvider } from '@fusionauth/react-sdk';
import type { FusionAuthProviderConfig } from '@fusionauth/react-sdk';

const fusionAuthProviderConfig: FusionAuthProviderConfig = {
  redirectUri: 'http://localhost:3000',
  postLogoutRedirectUri: 'http://localhost:3000',
  shouldAutoRefresh: true,
  shouldAutoFetchUserInfo: true,
  scope: 'openid email profile offline_access',
  clientId: 'e9fdb985-9173-4e01-9d73-ac2d60d1dc8e',
  serverUrl: 'http://localhost:9011',
  onRedirect: () => { console.log('Login successful'); }
};

function App() {
  return (
    <Routes>
      <Route path="/" element={<Home />} />
      <Route path="/account" element={<Account />} />
      <Route path="*" element={<Navigate to="/" />} />
    </Routes>
  );
}

ReactDOM.createRoot(document.getElementById('root')!).render(
  <StrictMode>
    <BrowserRouter>
      <FusionAuthProvider {...fusionAuthProviderConfig}>
        <App />
      </FusionAuthProvider>
    </BrowserRouter>
  </StrictMode>
);
This FusionAuth configuration specifies the following values:
redirectUri: URI to open after a successful login.postLogoutRedirectUri: URI to open after logout.shouldAutoRefresh: Set to automatically renew the access token.shouldAutoFetchUserInfo: Return data for the user as part of a successful login.scope: OAuth 2.0 permissions for the access token.clientId: ID of the application in the FusionAuth instance.serverUrl: Base URL for the FusionAuth authorization server.onRedirect: Callback that executes when a redirect occurs.
Add login and logout to homepage#
Open src/home.tsx and replace the file contents with the following code to:
- import functions and types from the FusionAuth React SDK
- update
Home()to route an authenticated user to the account page after they authenticate - update the login button handler to save
justLoggedInuntil the login redirect is complete, then callstartLogin() - add logic to the title bar to show a authenticated user’s email and a logout button, otherwise a login button
import { useNavigate } from 'react-router-dom';
import { useFusionAuth } from '@fusionauth/react-sdk';
import { useEffect } from 'react';

export default function Home() {
  const navigate = useNavigate();

  const { isLoggedIn, startLogin, startLogout, userInfo } = useFusionAuth();
  useEffect(() => {
    // Post-authentication redirect to account page
    if (isLoggedIn && sessionStorage.getItem('justLoggedIn') === 'true') {
      sessionStorage.removeItem('justLoggedIn');
      navigate("/account");
    }
  }, [isLoggedIn, navigate]);

  return (
    // show logout button for authenticated users, login button for all others
    <div>
      <div className="titlebar">
        {isLoggedIn ? (
          <>
          <span className='white'>{userInfo?.email}</span>
          <button className='button' onClick={() => startLogout()}>Logout</button>
          </>
        ) : (
          <button
            className='button'
            onClick={() => {
              sessionStorage.setItem('justLoggedIn', 'true');
              startLogin();
            }}
          >
            Login
          </button>
        )}
      </div>
      <div className='centerContainer'>
        <div>Log in to request your information</div>
      </div>
    </div>
  );
};
Add logout to account page#
Open src/account.tsx and replace the file contents with the following code to:
- import functions and types from the FusionAuth React SDK
- update
Account()to show the account page only to a logged-in user - update the account page to display the user's email in the title bar
- update the logout button click handler to start the logout process using the FusionAuth React SDK
startLogout()method
import { useNavigate } from 'react-router-dom';
import { useFusionAuth } from '@fusionauth/react-sdk';
import { useEffect } from 'react';

export default function Account() {
  const navigate = useNavigate();

  // use fusionauth SDK methods to handle authentication and logout
  const { isLoggedIn, isFetchingUserInfo, startLogout, userInfo } = useFusionAuth();

  // if user is not authenticated, redirect them back to the login page
  useEffect(() => { if (!isLoggedIn) navigate("/"); }, [isLoggedIn, navigate]);

  if (!isLoggedIn || isFetchingUserInfo) return null;

  return (
    <div>
      <div className="titlebar">
        <span className='white'>{userInfo?.email}</span>
        <button className='button' onClick={() => startLogout()}>Logout</button>
      </div>
      <div className='centerContainer'>
        <p>User info will display here</p>
      </div>
    </div>
  );
}
Test authentication#
-
Start the web server:
npm run dev -
Open a private browser window so you don't retain your login status from previous sections.
-
Navigate to the React app at http://localhost:3000.
-
Click the login button. Your browser should redirect to FusionAuth at
http://localhost:9011.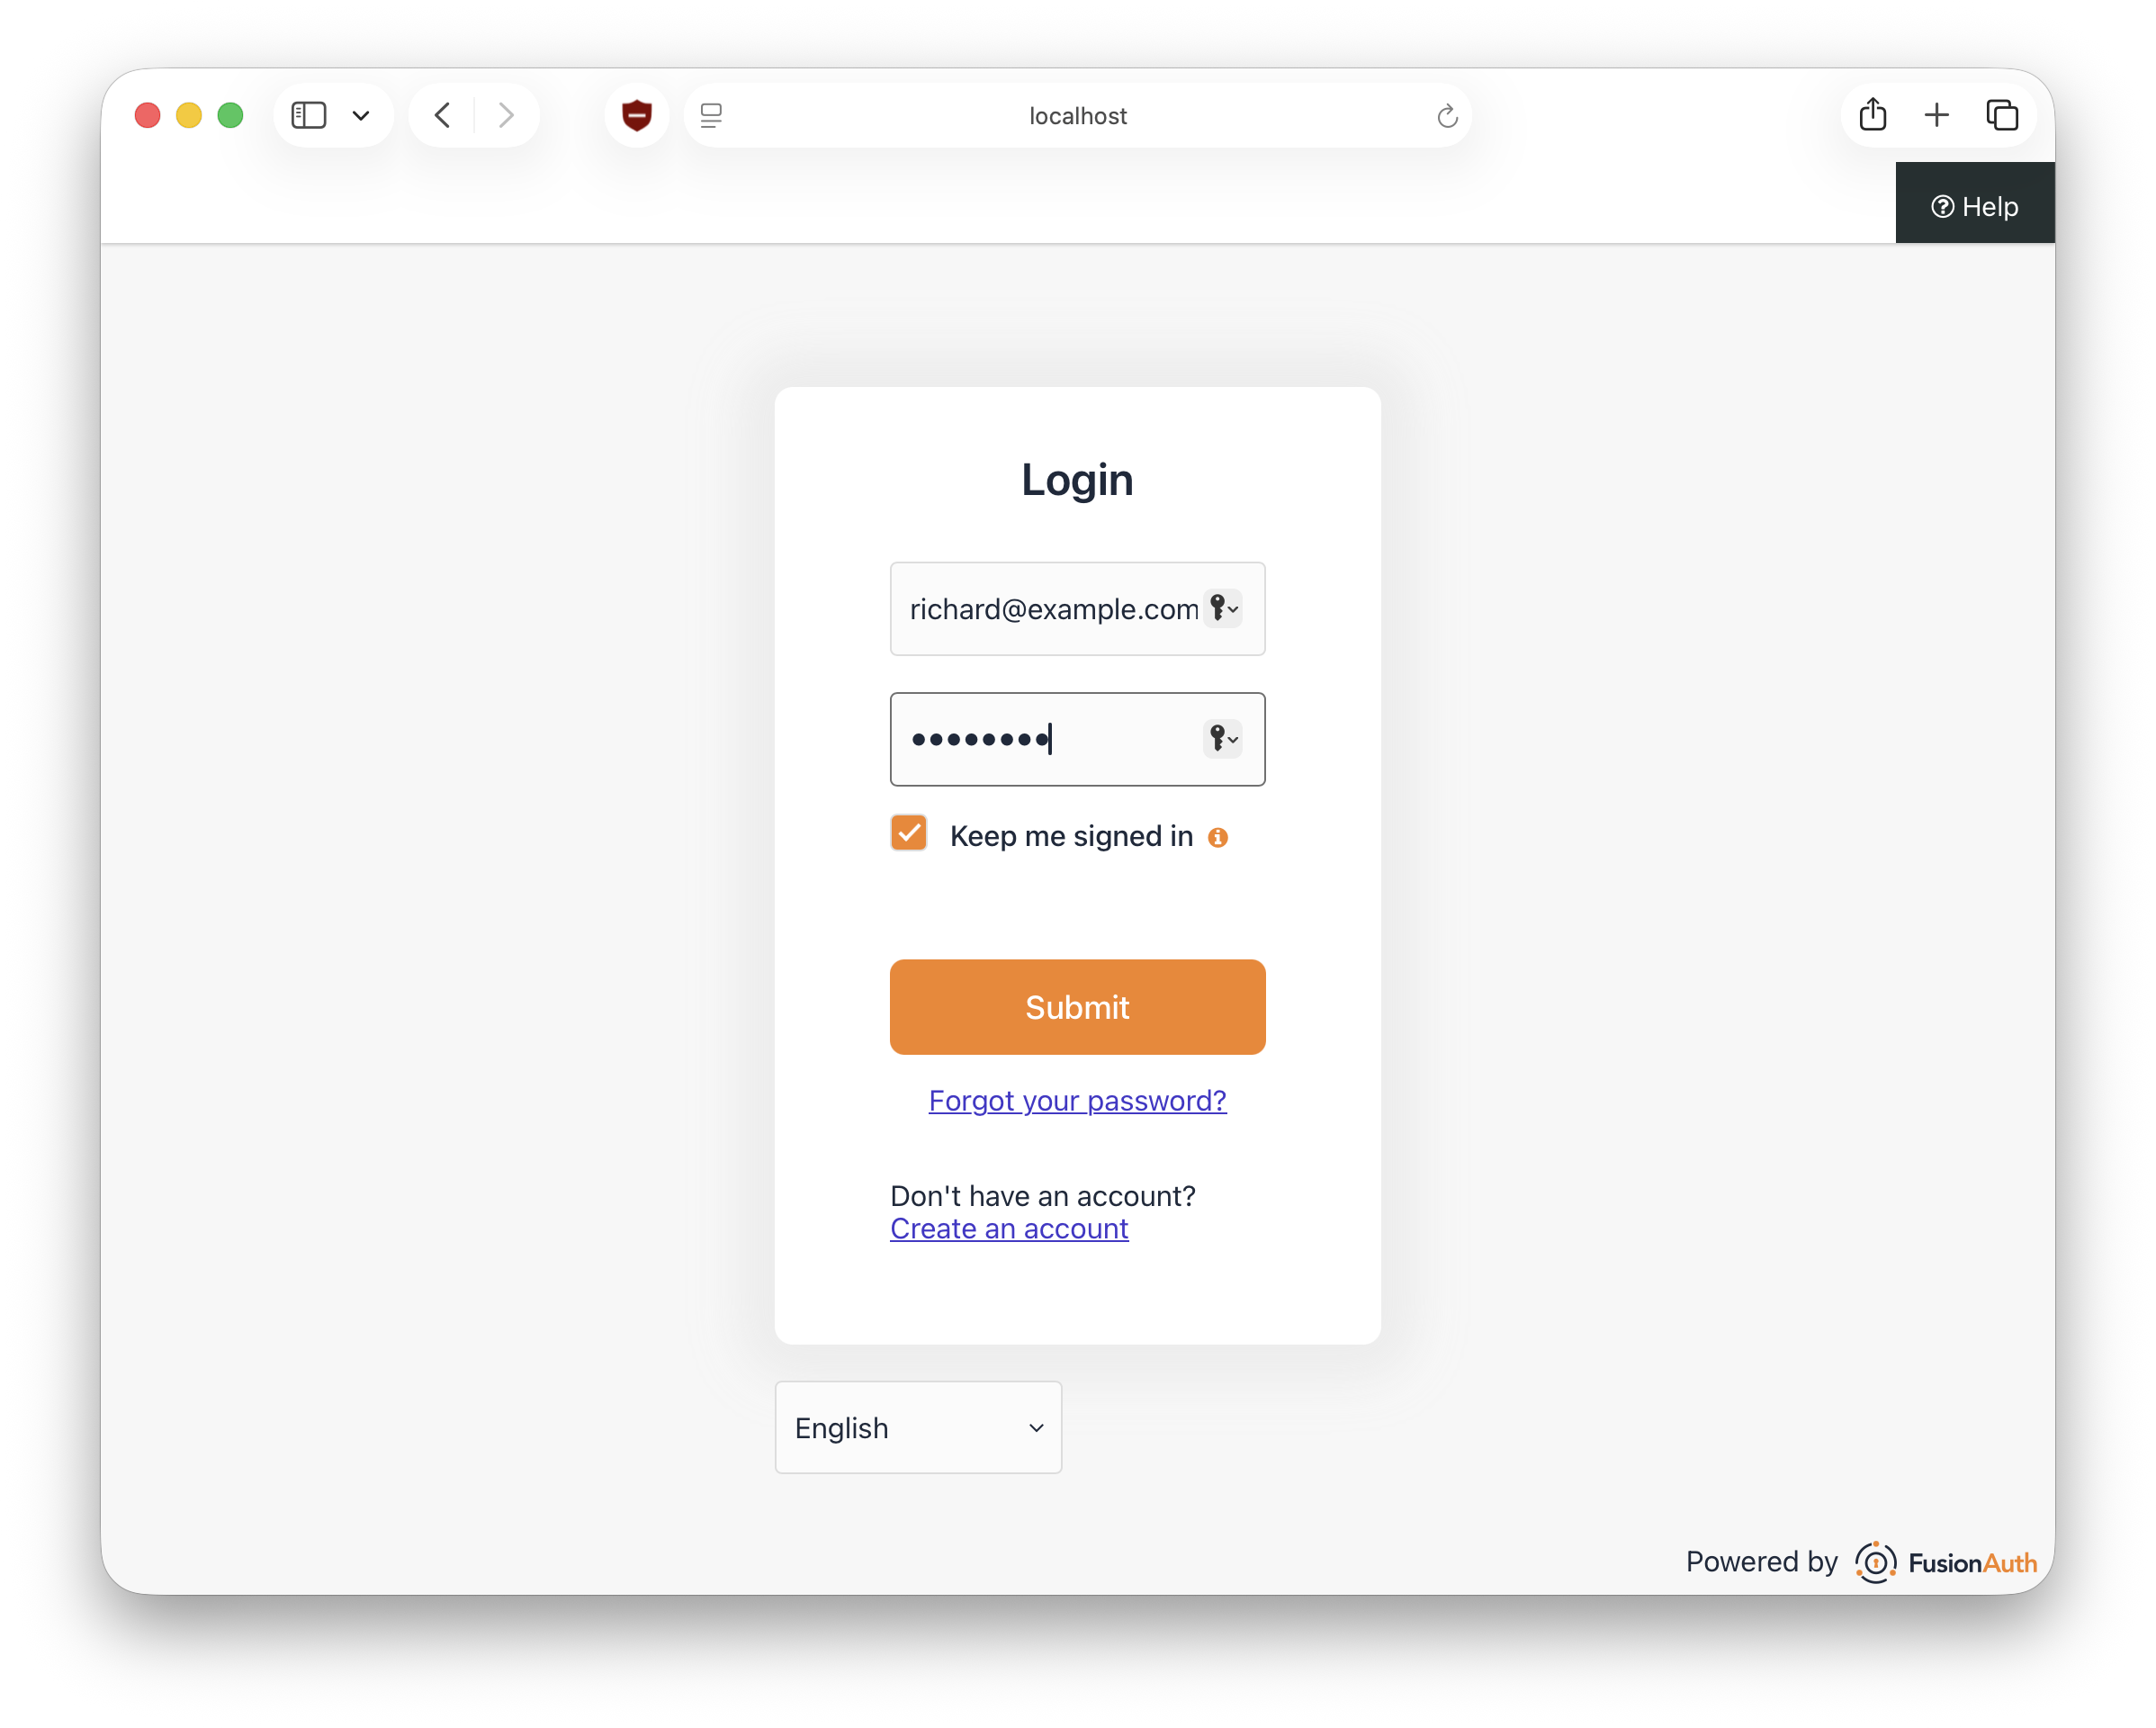
-
Authenticate with the credentials for the user created in the
fusionauth-quickstart-react/kickstart/kickstart.jsonfile:- Username:
richard@example.com - Password:
password
- Username:
FusionAuth validates the credentials, then redirects back to the redirectUri set in src/main.tsx. The home page checks whether the user is logged in. If they are, the app navigates to the account page.
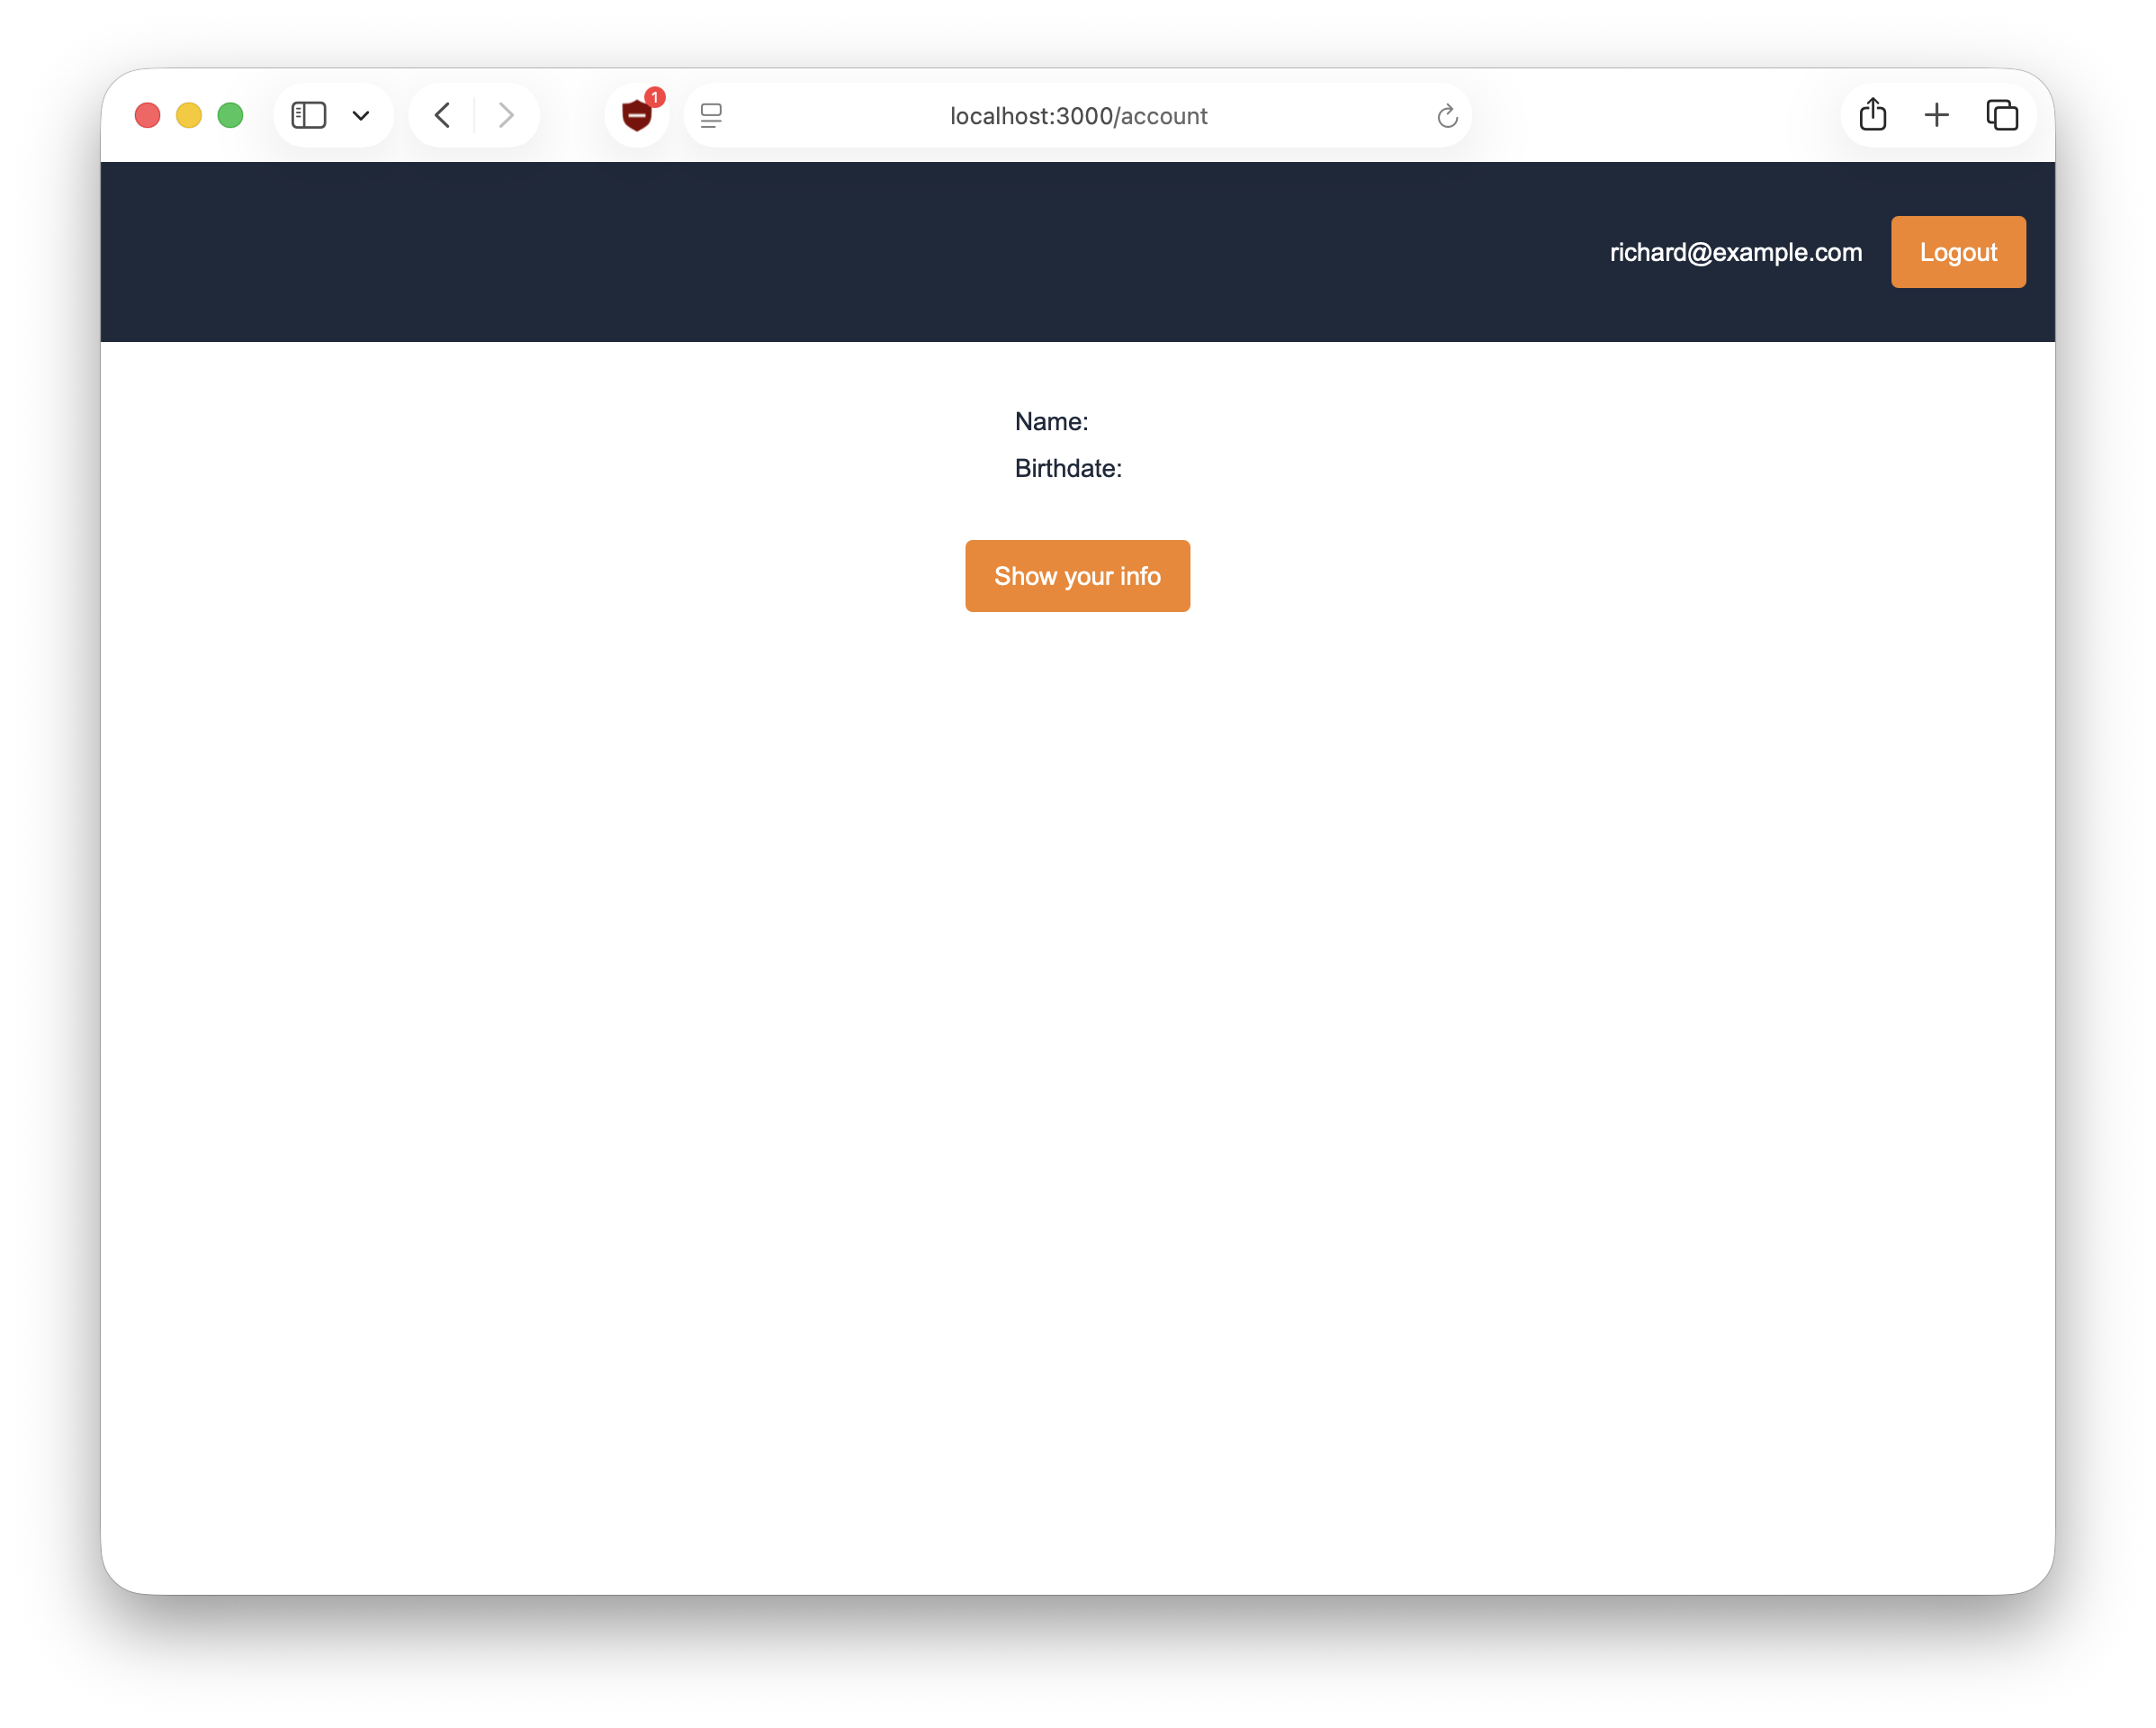
Right now, you should see a user home page containing nothing but the stub text User info will display here:
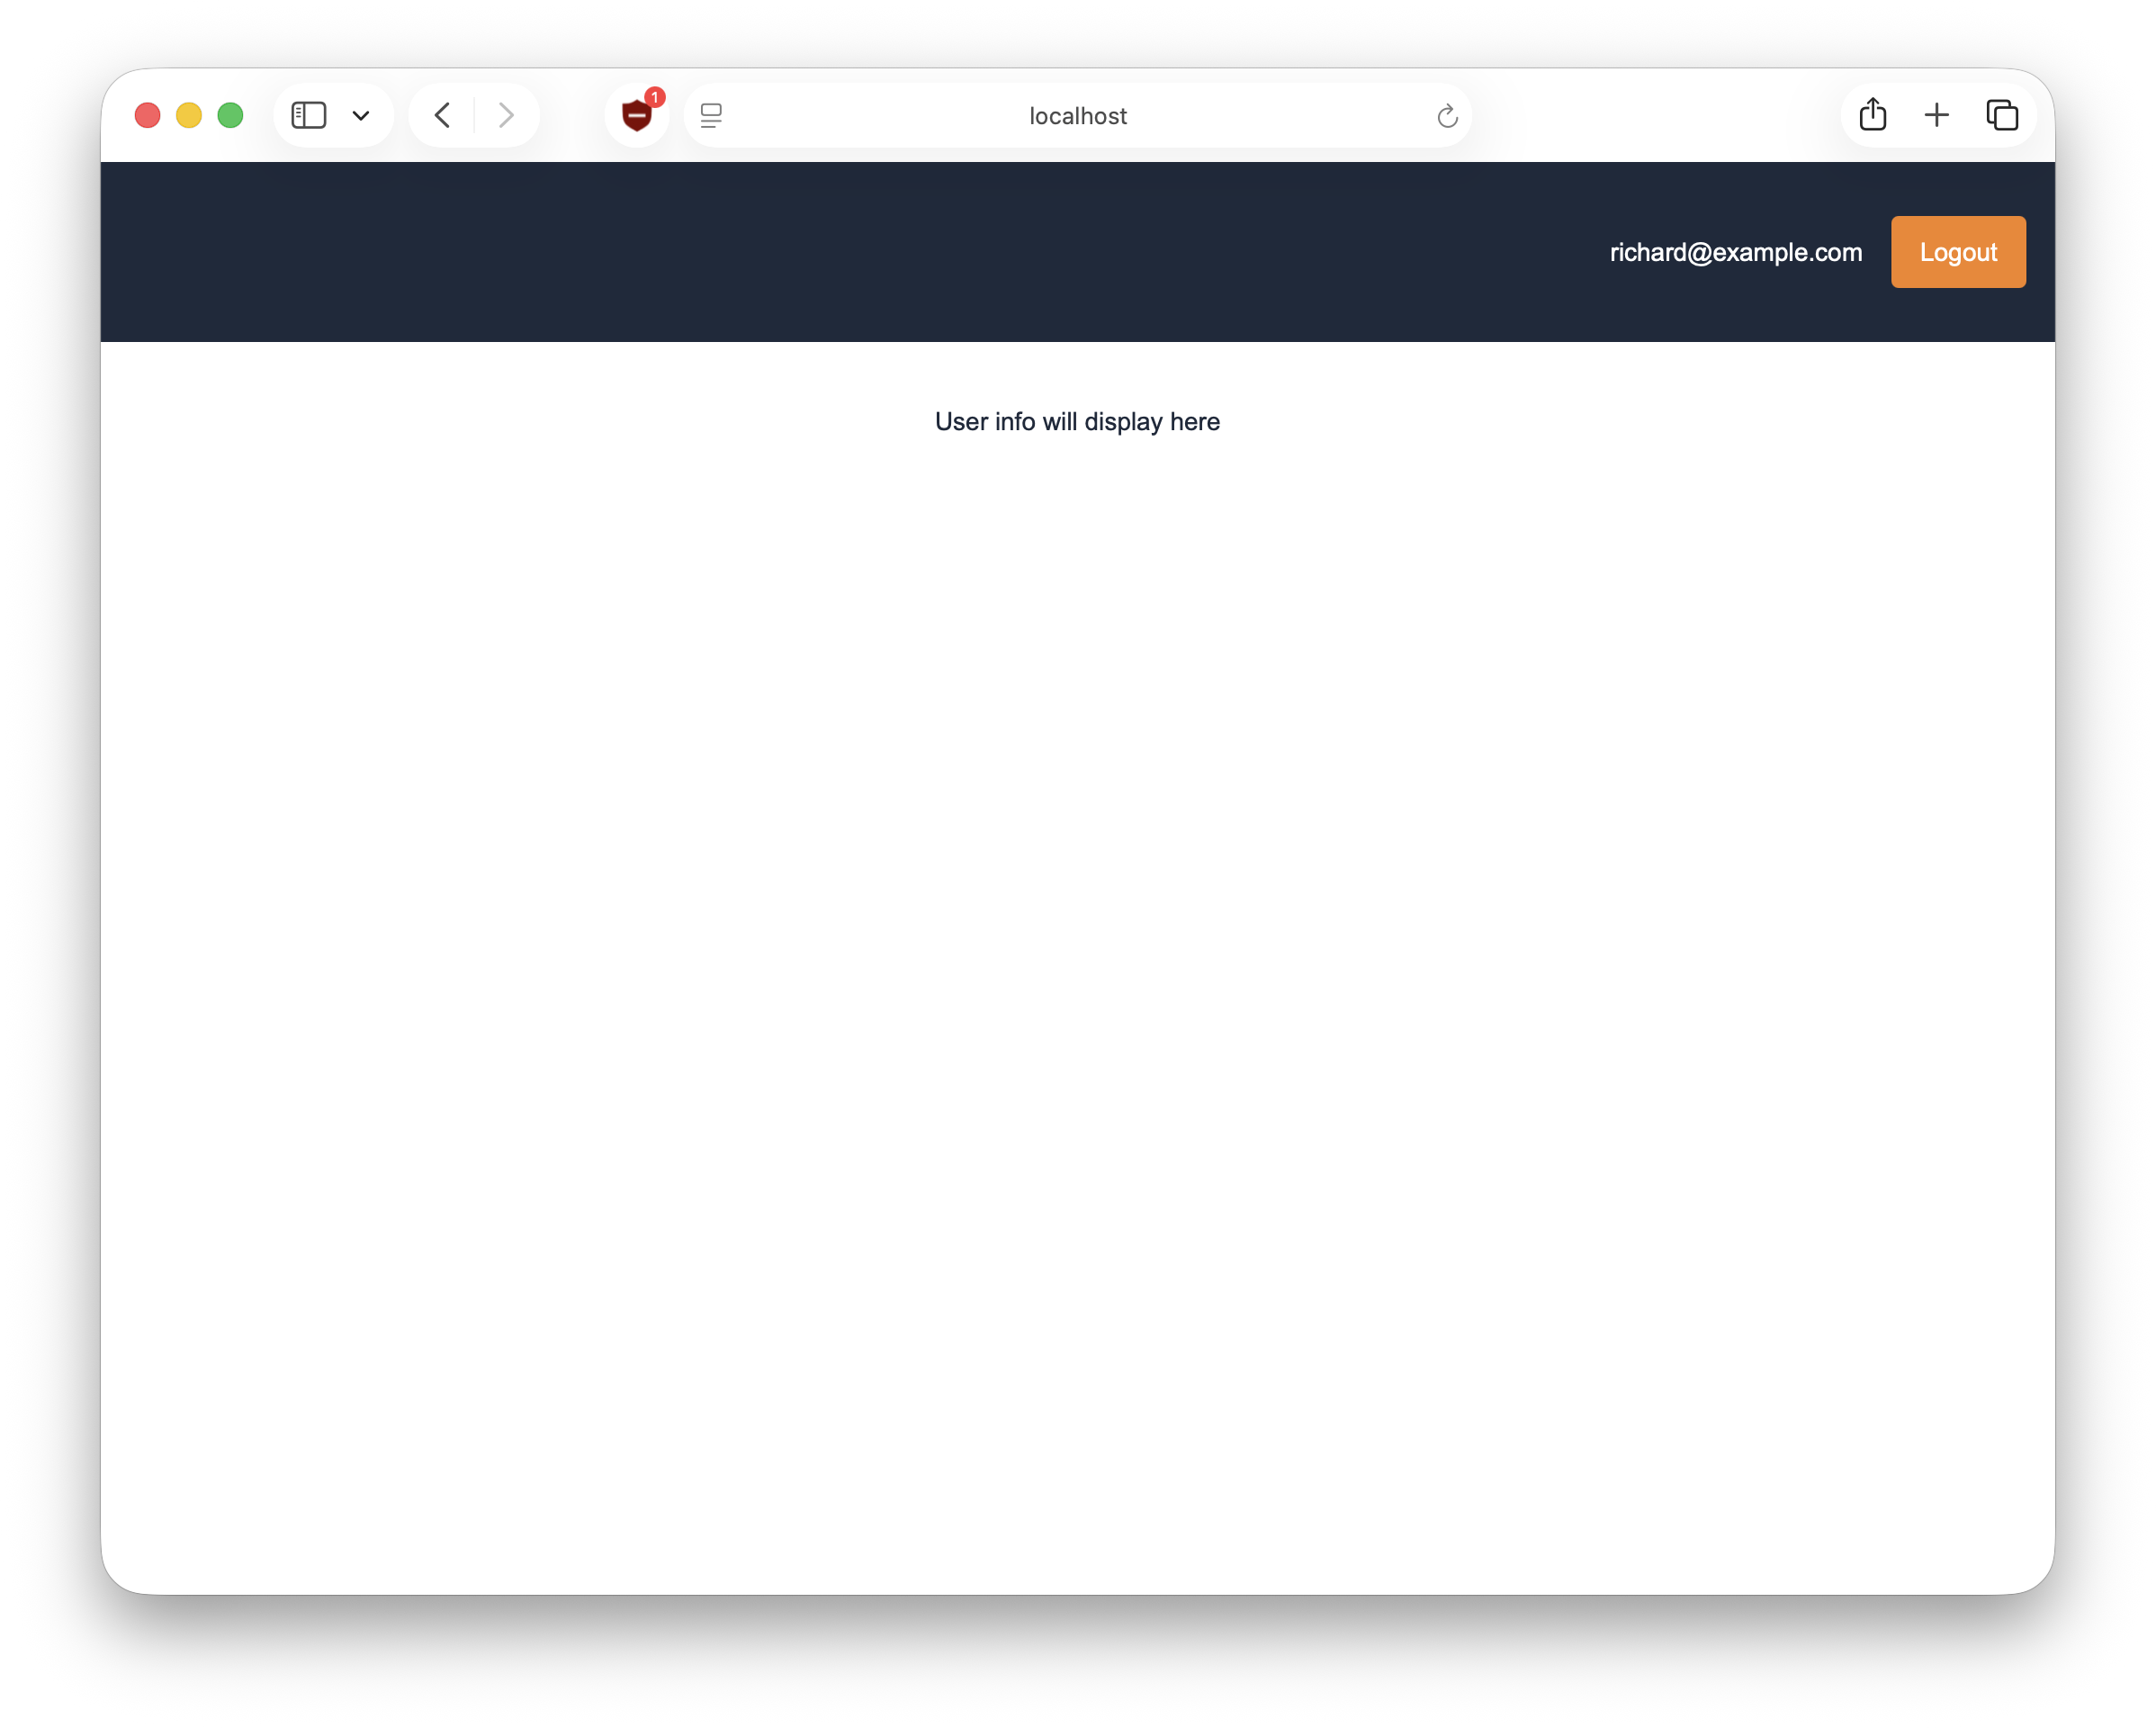
Let's use the FusionAuth React SDK to fetch and display that user data instead of stub text.
Fetch user data#
In this section you use the FusionAuth API to refresh and display detailed user data.
Call the FusionAuth API#
-
Open
src/account.tsxand replace the file contents with the following code to:- add
useStateto the React import - update the
Account()function to get user data from FusionAuth and save it innewUserInfo - update
centerContainerto display current user data fromnewUserInfo - update the button to fetch user data from
getUserInfo()
import { useNavigate } from 'react-router-dom'; import { useFusionAuth } from '@fusionauth/react-sdk'; import { useEffect, useState } from 'react'; export default function Account() { const navigate = useNavigate(); // use fusionauth SDK methods to handle authentication, logout, and user data fetching const { isLoggedIn, isFetchingUserInfo, startLogout, userInfo } = useFusionAuth(); const [newUserInfo, setNewUserInfo] = useState({'given_name': '', 'family_name': '', 'birthdate': ''}); // if user is not authenticated, redirect them back to the login page useEffect(() => { if (!isLoggedIn) navigate("/"); }, [isLoggedIn, navigate]); async function getUserInfo() { const response = await fetch('http://localhost:9011/app/me', { 'method': 'GET', 'credentials': 'include', 'headers': { 'Accept': 'application/json' } }); const info = await response.json(); setNewUserInfo(info); } if (!isLoggedIn || isFetchingUserInfo) return null; return ( <div> <div className="titlebar"> <span className='white'>{userInfo?.email}</span> <button className='button' onClick={() => startLogout()}>Logout</button> </div> <div className='centerContainer'> <div className="userInfoGrid"> <div>Name:</div> <div>{newUserInfo?.given_name} {newUserInfo?.family_name}</div> <div>Birthdate:</div> <div>{newUserInfo?.birthdate}</div> </div> <br /> <div> <button className="button" onClick={getUserInfo}>Show your info</button> </div> </div> </div> ); } - add
getUserInfo() sets newUserInfo to the result of an asynchronous call to the /me endpoint. The API call uses credentials: include to authorize the API call with a cookie set by FusionAuth during login.
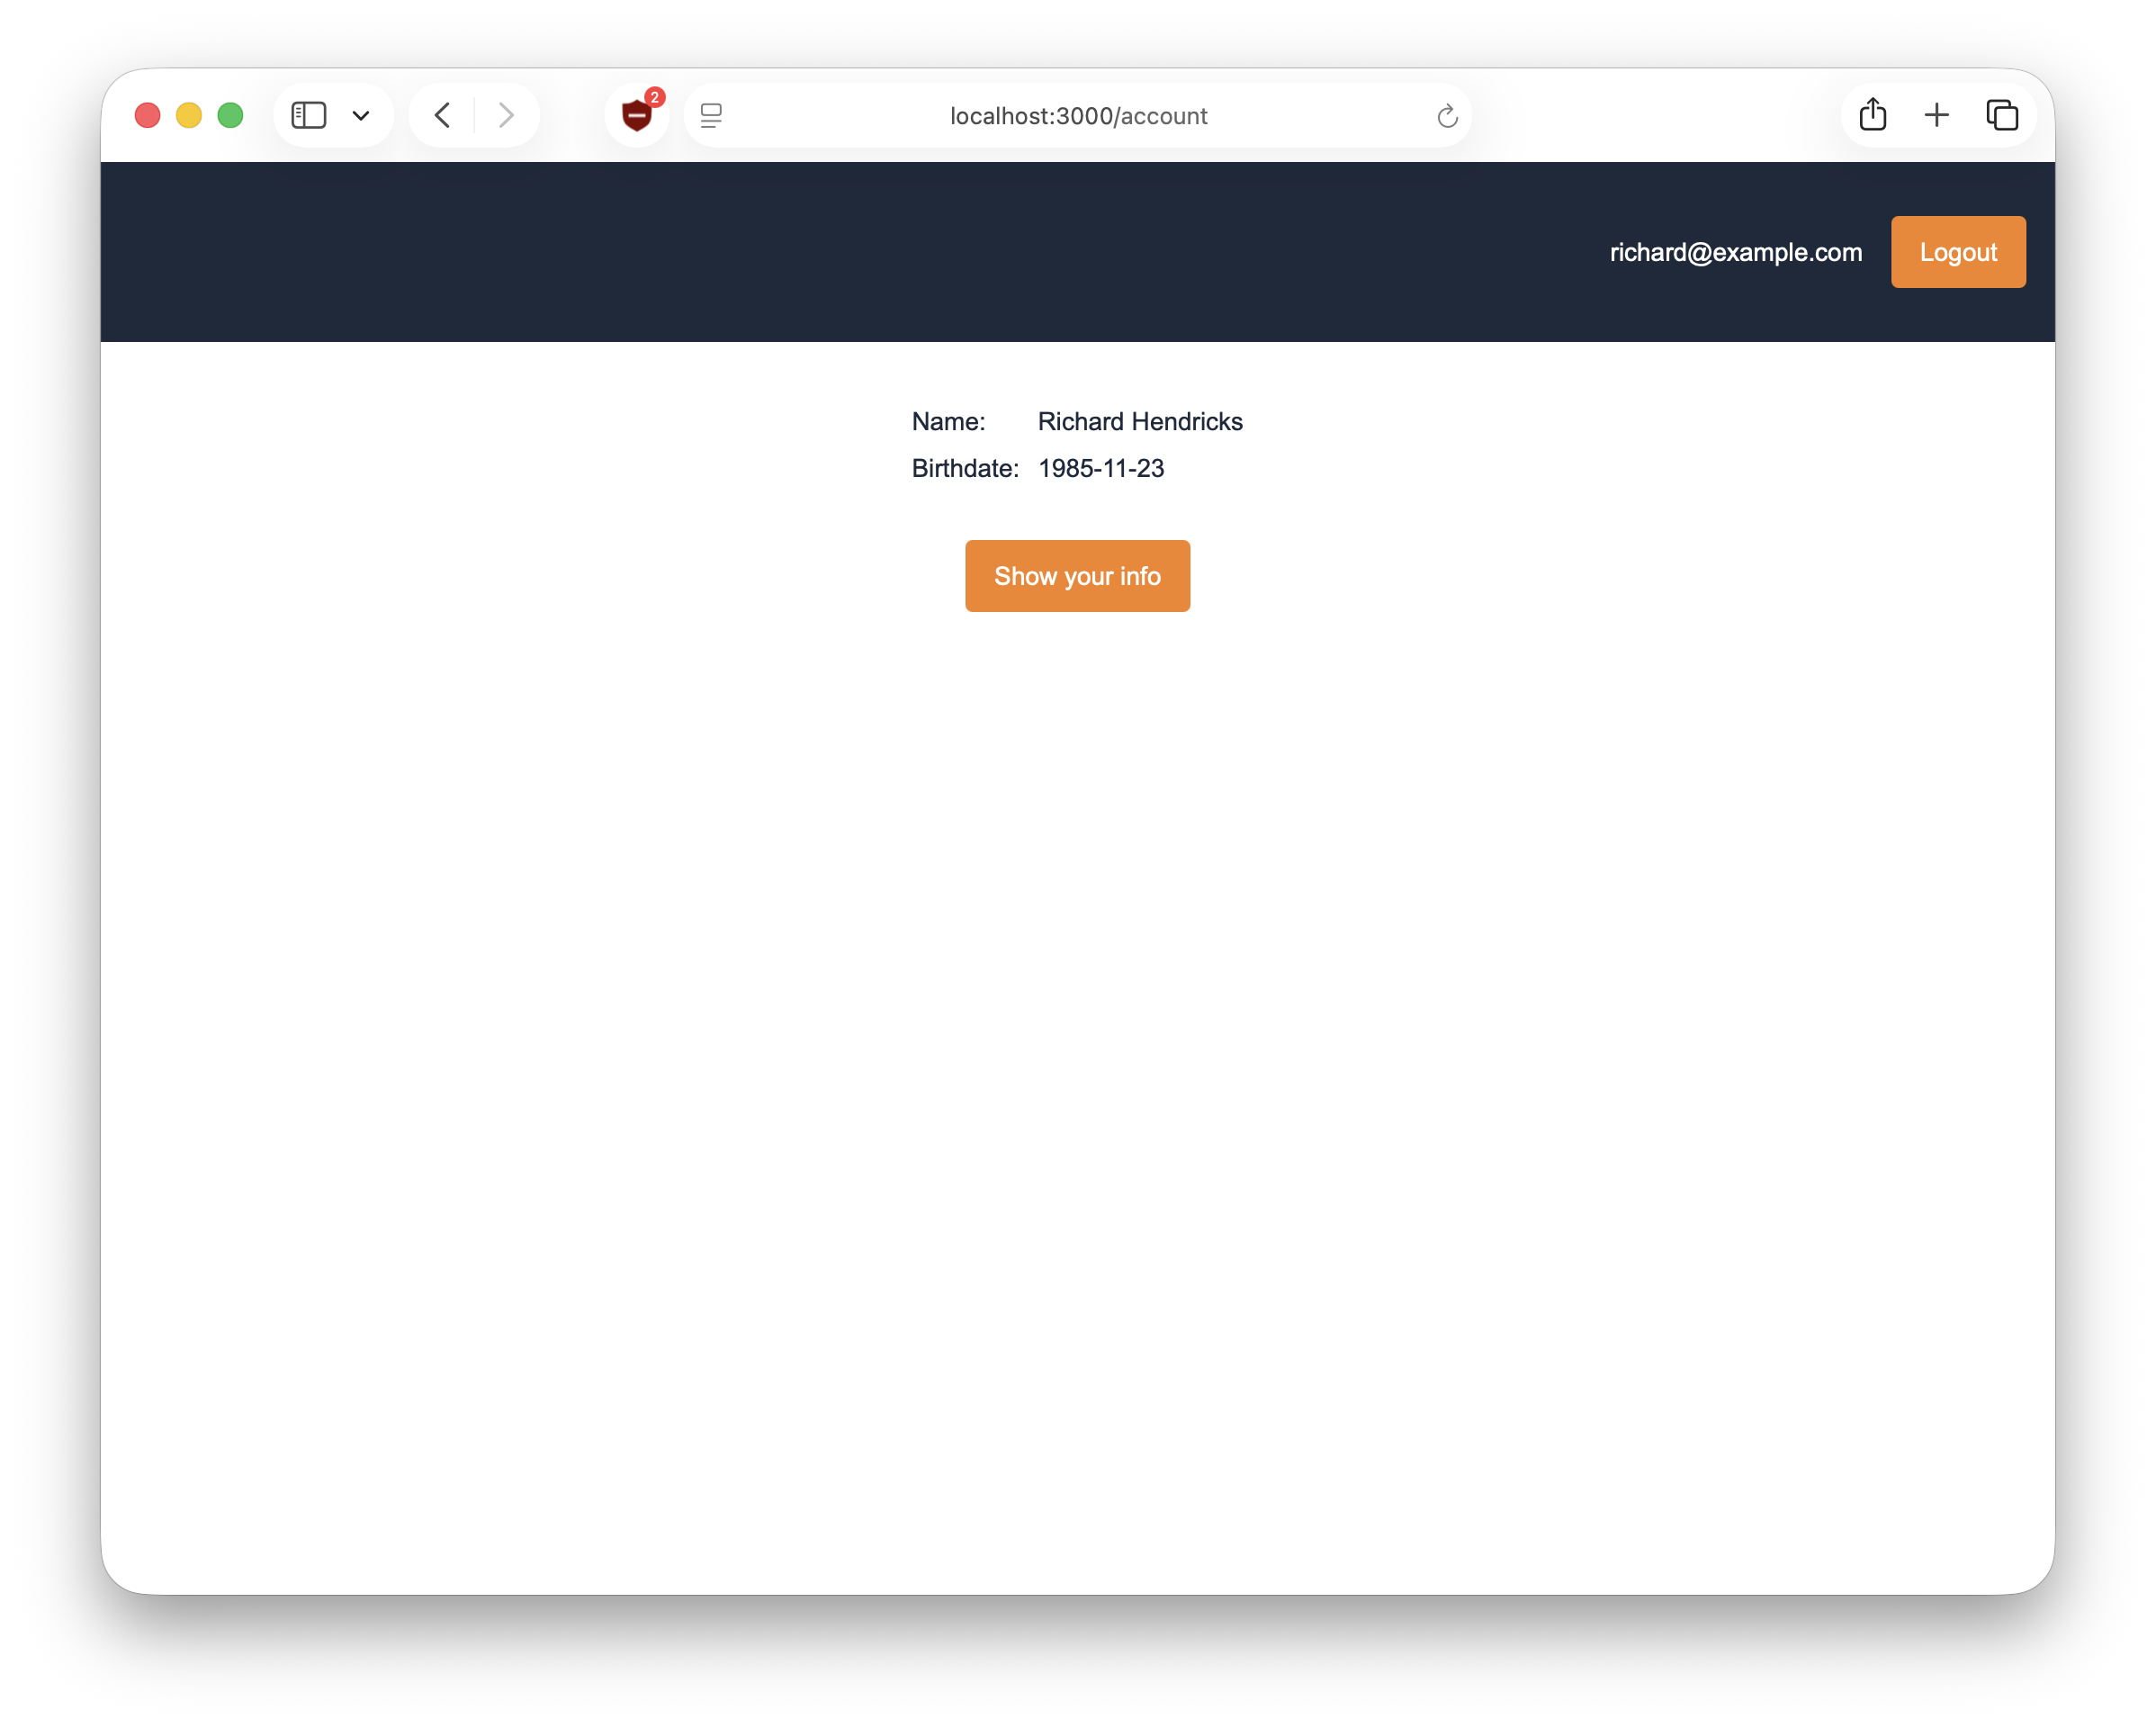
Test user data functionality#
-
Browse to the account page at http://localhost:3000.
-
Click the Show your info button to fetch and display the latest user data.
Next steps#
This is a quick introduction to using FusionAuth for user authentication. To learn more about integrating FusionAuth with your product, see Get Started.
FusionAuth has many features (including Social Login, Single Sign-On, Passwordless, Multi-factor Authentication), most of which are free. Some require additional licensing. For details, see the pricing page.
For information on the React SDK, see the GitHub documentation.
You can ask general questions in the FusionAuth forum.